
Ultimate Guide: How Drip Edge Prevents $11,000+ in Roof Water Damage
Is water damage silently threatening your home's structural integrity? Every year, homeowners spend an average of $11,600 on water damage repairs, with 1 in 60 homes filing water-related insurance claims. One often-overlooked hero in preventing this costly damage is your roof's drip edge - a simple yet crucial component that could save you thousands in repairs.
Your home's fascia and soffit are particularly vulnerable to water damage, acting like a sponge when exposed to consistent moisture. Without proper protection, these essential roof components can rot, grow mold, and eventually fail, leading to expensive repairs. A properly installed drip edge diverts water away from these sensitive areas, protecting your home's structural integrity and your wallet.
In this comprehensive guide, you'll discover why drip edges are essential, how they protect your home, and what happens when they're missing or improperly installed. We'll explore material options, installation best practices, and maintenance tips to help you make informed decisions about your roof's protection.
- Understanding Drip Edges
- The Critical Role of Drip Edges in Roof Protection
- Regional Considerations and Installation Techniques
- Cost Implications and Savings
- Identifying and Solving Drip Edge Issues
Understanding Drip Edges
Definition and Functionality
A drip edge is a critical component of any roof. This metal strip, installed along the roof's edge, controls water flow to prevent damage such as rot or mold. It protects the fascia (the roof's "face") and soffit (the roof's "underside") by directing water away from them. Building codes often require drip edges to ensure homes can resist water damage. If you're building a new home or undertaking major roof work, your local code may mandate a drip edge.
Drip Edge Benefits
- Prevents water damage
- Protects fascia and soffit
- Compliance with building codes
- Enhances roof aesthetics
Key Considerations
- Material choice
- Installation accuracy
- Regular maintenance
- Local code requirements
Materials: Aluminum, Galvanized Steel, and Copper
Drip edges are typically made from aluminum, galvanized steel, or copper:
- Aluminum: Lightweight and rust-resistant, making it suitable for many climates.
- Galvanized Steel: Stronger and more durable, offering better protection against harsh weather.
- Copper: The most expensive option, chosen for its beauty and long lifespan.
The best material for you depends on your needs and budget.
Path of Water: With and Without Drip Edge
A drip edge significantly changes how water flows off your roof:
- With a Drip Edge: Water flows away from the roof and into the gutters, preventing pooling and damage to the fascia, soffit, and roof deck.
- Without a Drip Edge: Rainwater can seep into the fascia, soffit, and roof deck, causing rot, mold, and structural damage.
Water Flow Diagram

For a professional assessment of your roof's condition, including your drip edge, consider our Get Your Roof Assessment.
The Critical Role of Drip Edges in Roof Protection
Drip edges are small but mighty components that play a vital role in protecting your roof. These metal flashings, typically made of aluminum or galvanized steel, are installed along the roof's edges. Their primary function is to direct water away from the fascia and soffit, safeguarding these vulnerable areas from potential water damage. Understanding the importance of drip edges empowers homeowners to make informed decisions to protect their homes.
Preventing Water Damage: Fascia and Soffit
The fascia and soffit are particularly susceptible to water damage. Without a drip edge, water can seep into these areas, causing rot, mold growth, and structural damage. Drip edges work by directing rainwater into the gutters, preventing it from reaching the fascia and soffit. This simple but effective component acts as the first line of defense against water infiltration, preserving the roof's lifespan and appearance.
Consequences of Missing or Improperly Installed Drip Edges
Missing or improperly installed drip edges can have serious repercussions. Correct installation requires adjacent drip edge segments to overlap by at least 2 inches and extend a minimum of ¼ inch below the roof sheathing and 2 inches up onto the roof deck. These issues compromise the roof's structural integrity and can cause interior water damage, affecting the home's safety and comfort.
Installation Checklist
- Overlap segments by at least 2 inches
- Extend ¼ inch below roof sheathing
- Extend 2 inches up onto the roof deck
- Secure firmly to prevent detachment
Long-Term Benefits for Roof Longevity
Investing in quality drip edges offers several long-term advantages for roof longevity. They protect against water damage, minimize the need for costly repairs, and maintain the roof's structural integrity. Furthermore, drip edges enhance the roof's aesthetic appeal, increasing property value and ensuring the roof remains in excellent condition for years to come.
Regional Considerations and Installation Techniques
Understanding regional considerations and proper installation techniques for drip edges is crucial for a long-lasting and effective roof. Different materials, building codes, and climates require specific approaches to drip edge installation.
Variations in Materials and Codes by Region
Drip edge materials vary based on regional preferences and building codes. Common materials include aluminum, galvanized steel, and copper. Local building codes may also specify the type and installation method for drip edges.
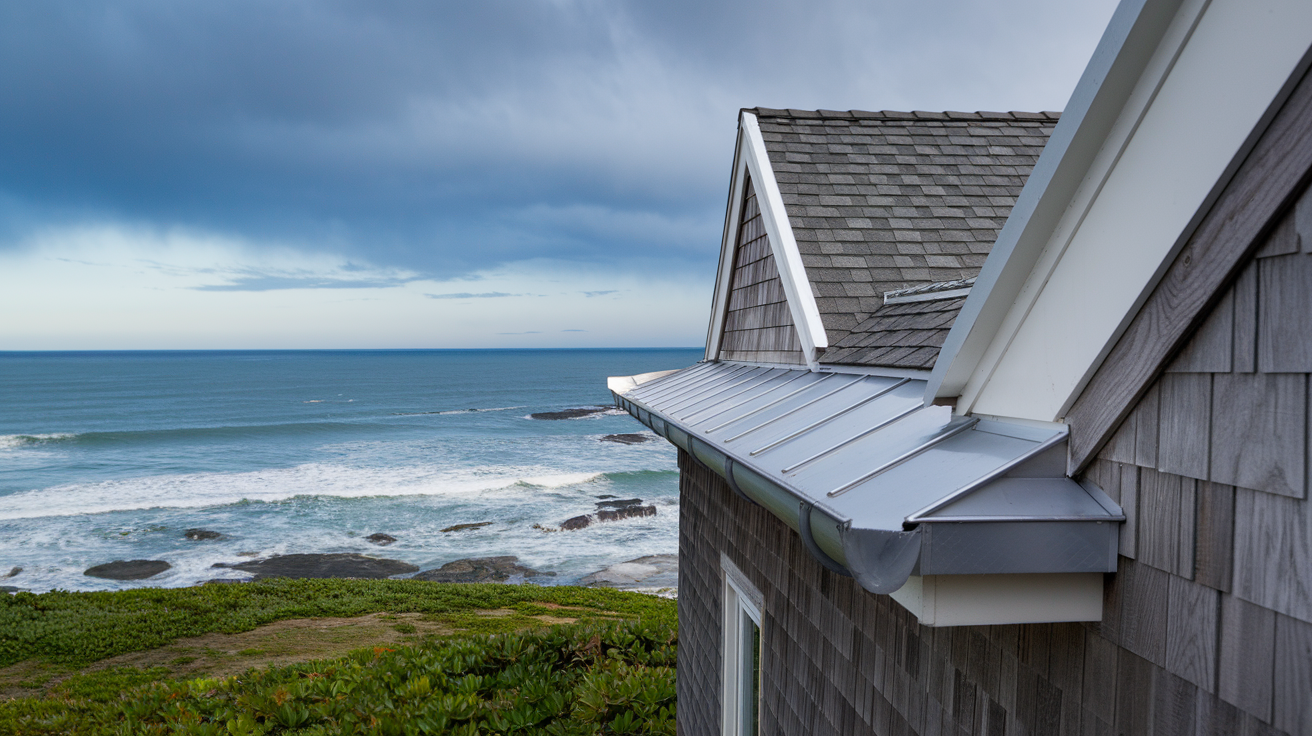
Material Selection Based on Climate
In coastal regions, aluminum is often preferred because it resists corrosion from salt air. Local building codes may require specific profiles like Type C or Type D for better water management. Always check local regulations for compliance and best performance.
Permitting for Drip Edge Installation
While drip edge installation might not always need a separate permit, it's often part of a larger roofing project that does. Check with your local building department to be sure.
Best Practices for Installation Across Roof Types
Proper installation is key for effective water management. Install drip edges at both the eaves (the lower edge of the roof) and rakes (the sloped edges).
Overlapping Techniques
Overlap pieces so the higher one directs water over the lower one, preventing water from seeping underneath.
Installation on Different Roof Types
For asphalt shingle roofs, place the drip edge under the underlayment at the eaves and over it at the rakes. Metal roofs need a sealant between the drip edge and underlayment to prevent water buildup.
Regional Climate Impacts on Drip Edge Performance
Climate affects drip edge performance, impacting material choices and installation.
Heavy Rainfall Areas
In areas with lots of rain, the drip edge should extend at least a quarter inch below the roof sheathing to direct water into the gutters and prevent overflow.
Cold Climates
In colder climates with ice dams, a drip edge can stop water from backing up under the shingles and causing leaks. Proper attic insulation and ventilation are still essential for preventing ice dams.
Hot and Arid Climates
In hot, dry areas, materials expand in the heat. Flexible materials like aluminum can handle this movement better.
Cost Implications and Savings
This section explores the costs associated with drip edge installation and the potential long-term savings it offers homeowners. While there are upfront costs for materials and labor, a drip edge can prevent significant expenses related to water damage, making it a worthwhile investment.
Material and Labor Costs for Installation
Drip edge installation involves costs for both materials and labor. Material prices range from $1 to $3 per linear foot, depending on the metal type and quality. Labor costs for professional installation typically range from $150 to $300 for a standard roof.
Cost Breakdown Table
| Material | Cost per Linear Foot |
|---|---|
| Aluminum | $1 - $2 |
| Galvanized Steel | $1.5 - $2.5 |
| Copper | $2 - $3 |
Potential Cost Savings from Preventing Water Damage
The primary function of a drip edge is to prevent water damage to the fascia and soffit. Installing a drip edge can save homeowners thousands of dollars in potential repairs. Proper drip edge installation ensures comprehensive coverage and effective water diversion.
Economic Benefits of Regular Maintenance
Regular maintenance of your drip edge and roof offers significant economic advantages. Ensuring the drip edge is functioning correctly and is free of debris prolongs the roof's lifespan and prevents costly damage. Routine upkeep enhances the roofing system's durability, avoiding expensive repairs or premature roof replacement.
Identifying and Solving Drip Edge Issues
Drip edges protect your roof from water damage. Proper installation and maintenance are key for drip edge effectiveness. Understanding common problems can help you prevent damage and maintain your roof.
Common Installation Problems and Solutions
Improper overlapping is a common drip edge installation issue. Each section should overlap by at least 2 inches for seamless water flow. To solve these problems, follow installation guidelines carefully. Hire a professional roofer familiar with local building codes and drip edge installation.
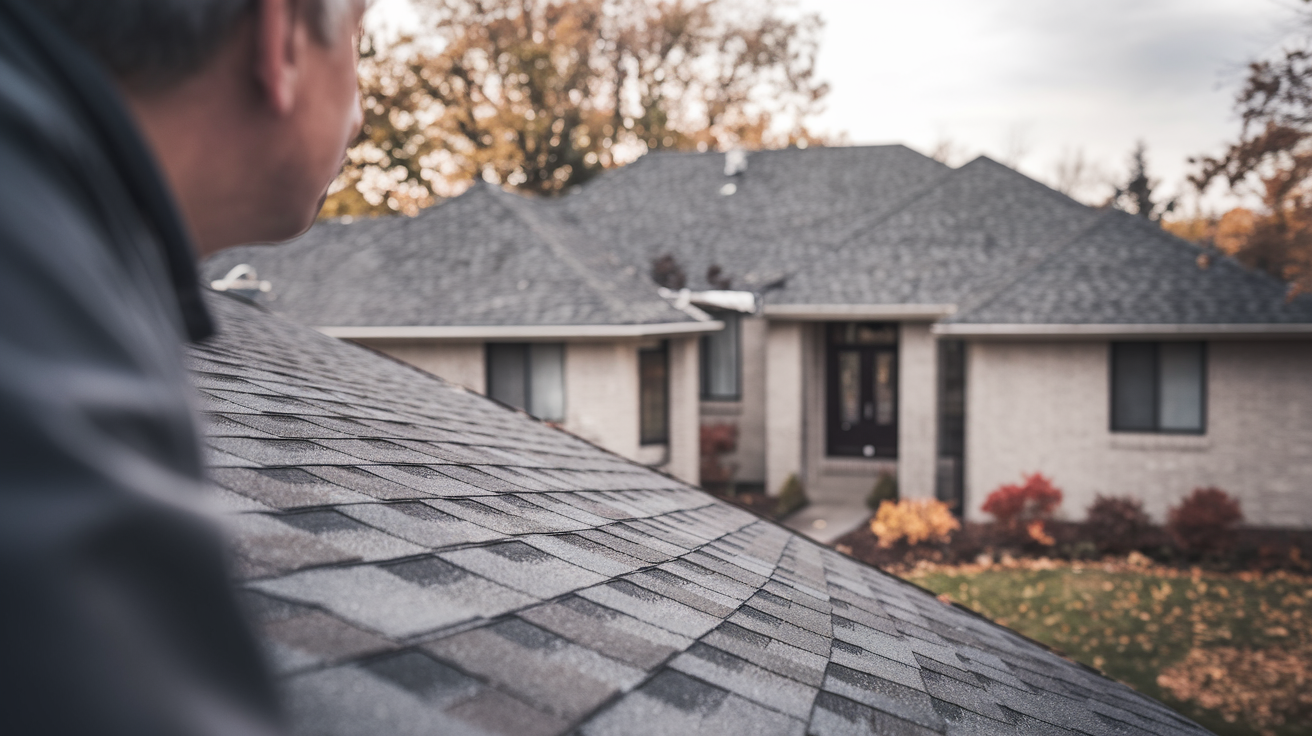
Signs of Damage or Ineffectiveness
Early damage detection prevents extensive repairs. A faulty drip edge can cause water stains or peeling paint on the fascia, indicating trapped moisture. Regularly inspect for rust, bends, or detachment. Re-secure loose sections or replace damaged parts to prevent water infiltration.
Routine Maintenance and Replacement Indicators
Regular maintenance extends drip edge lifespan and prevents costly water damage repairs to the fascia and soffit. Replacement indicators include persistent water damage despite repairs, significant rust, or a loose fit against the roof. Addressing these issues and performing regular maintenance reduces water damage risk to your fascia and soffit.
Disclaimer: This blog post is intended for informational purposes only and should not be considered professional roofing advice. Always consult with qualified roofing contractors and insurance professionals for specific guidance regarding your individual circumstances.